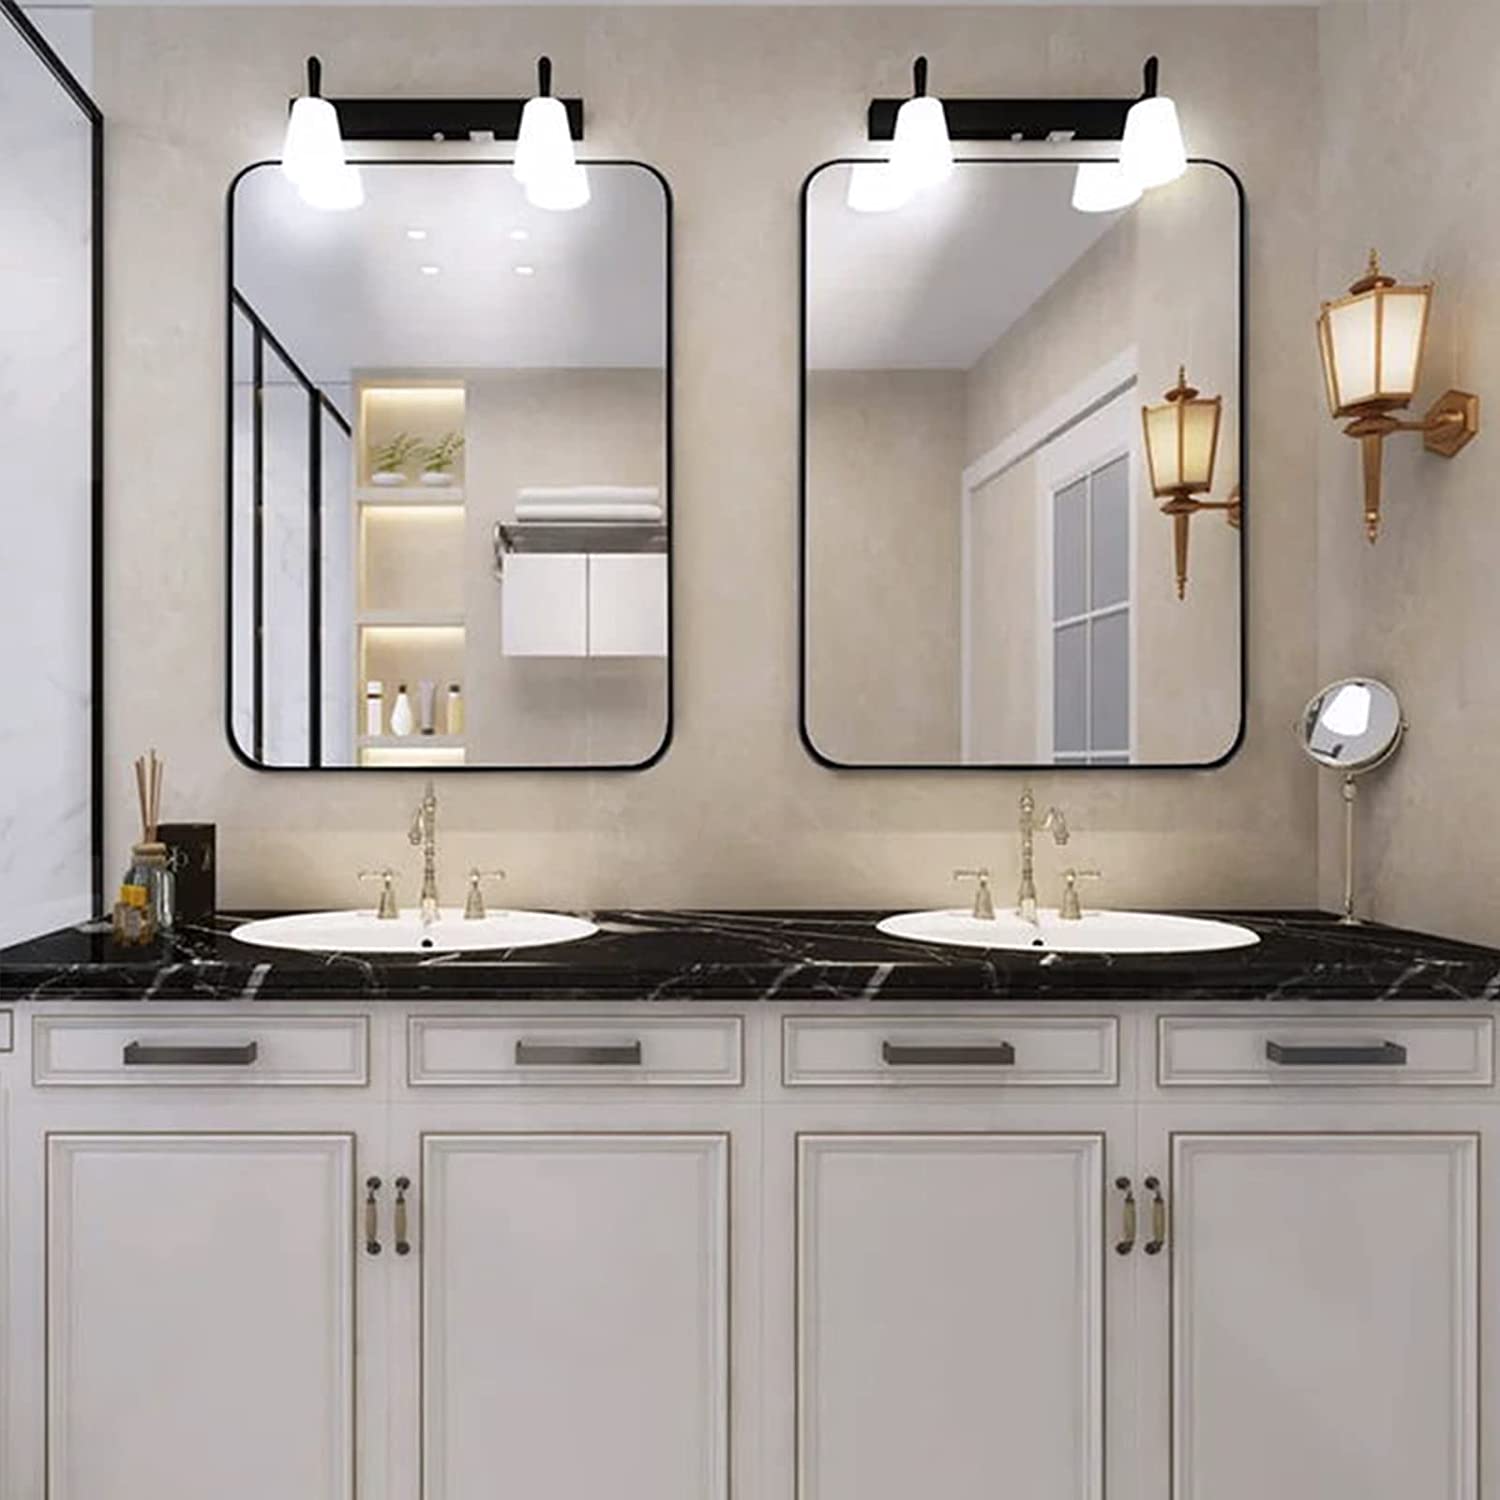
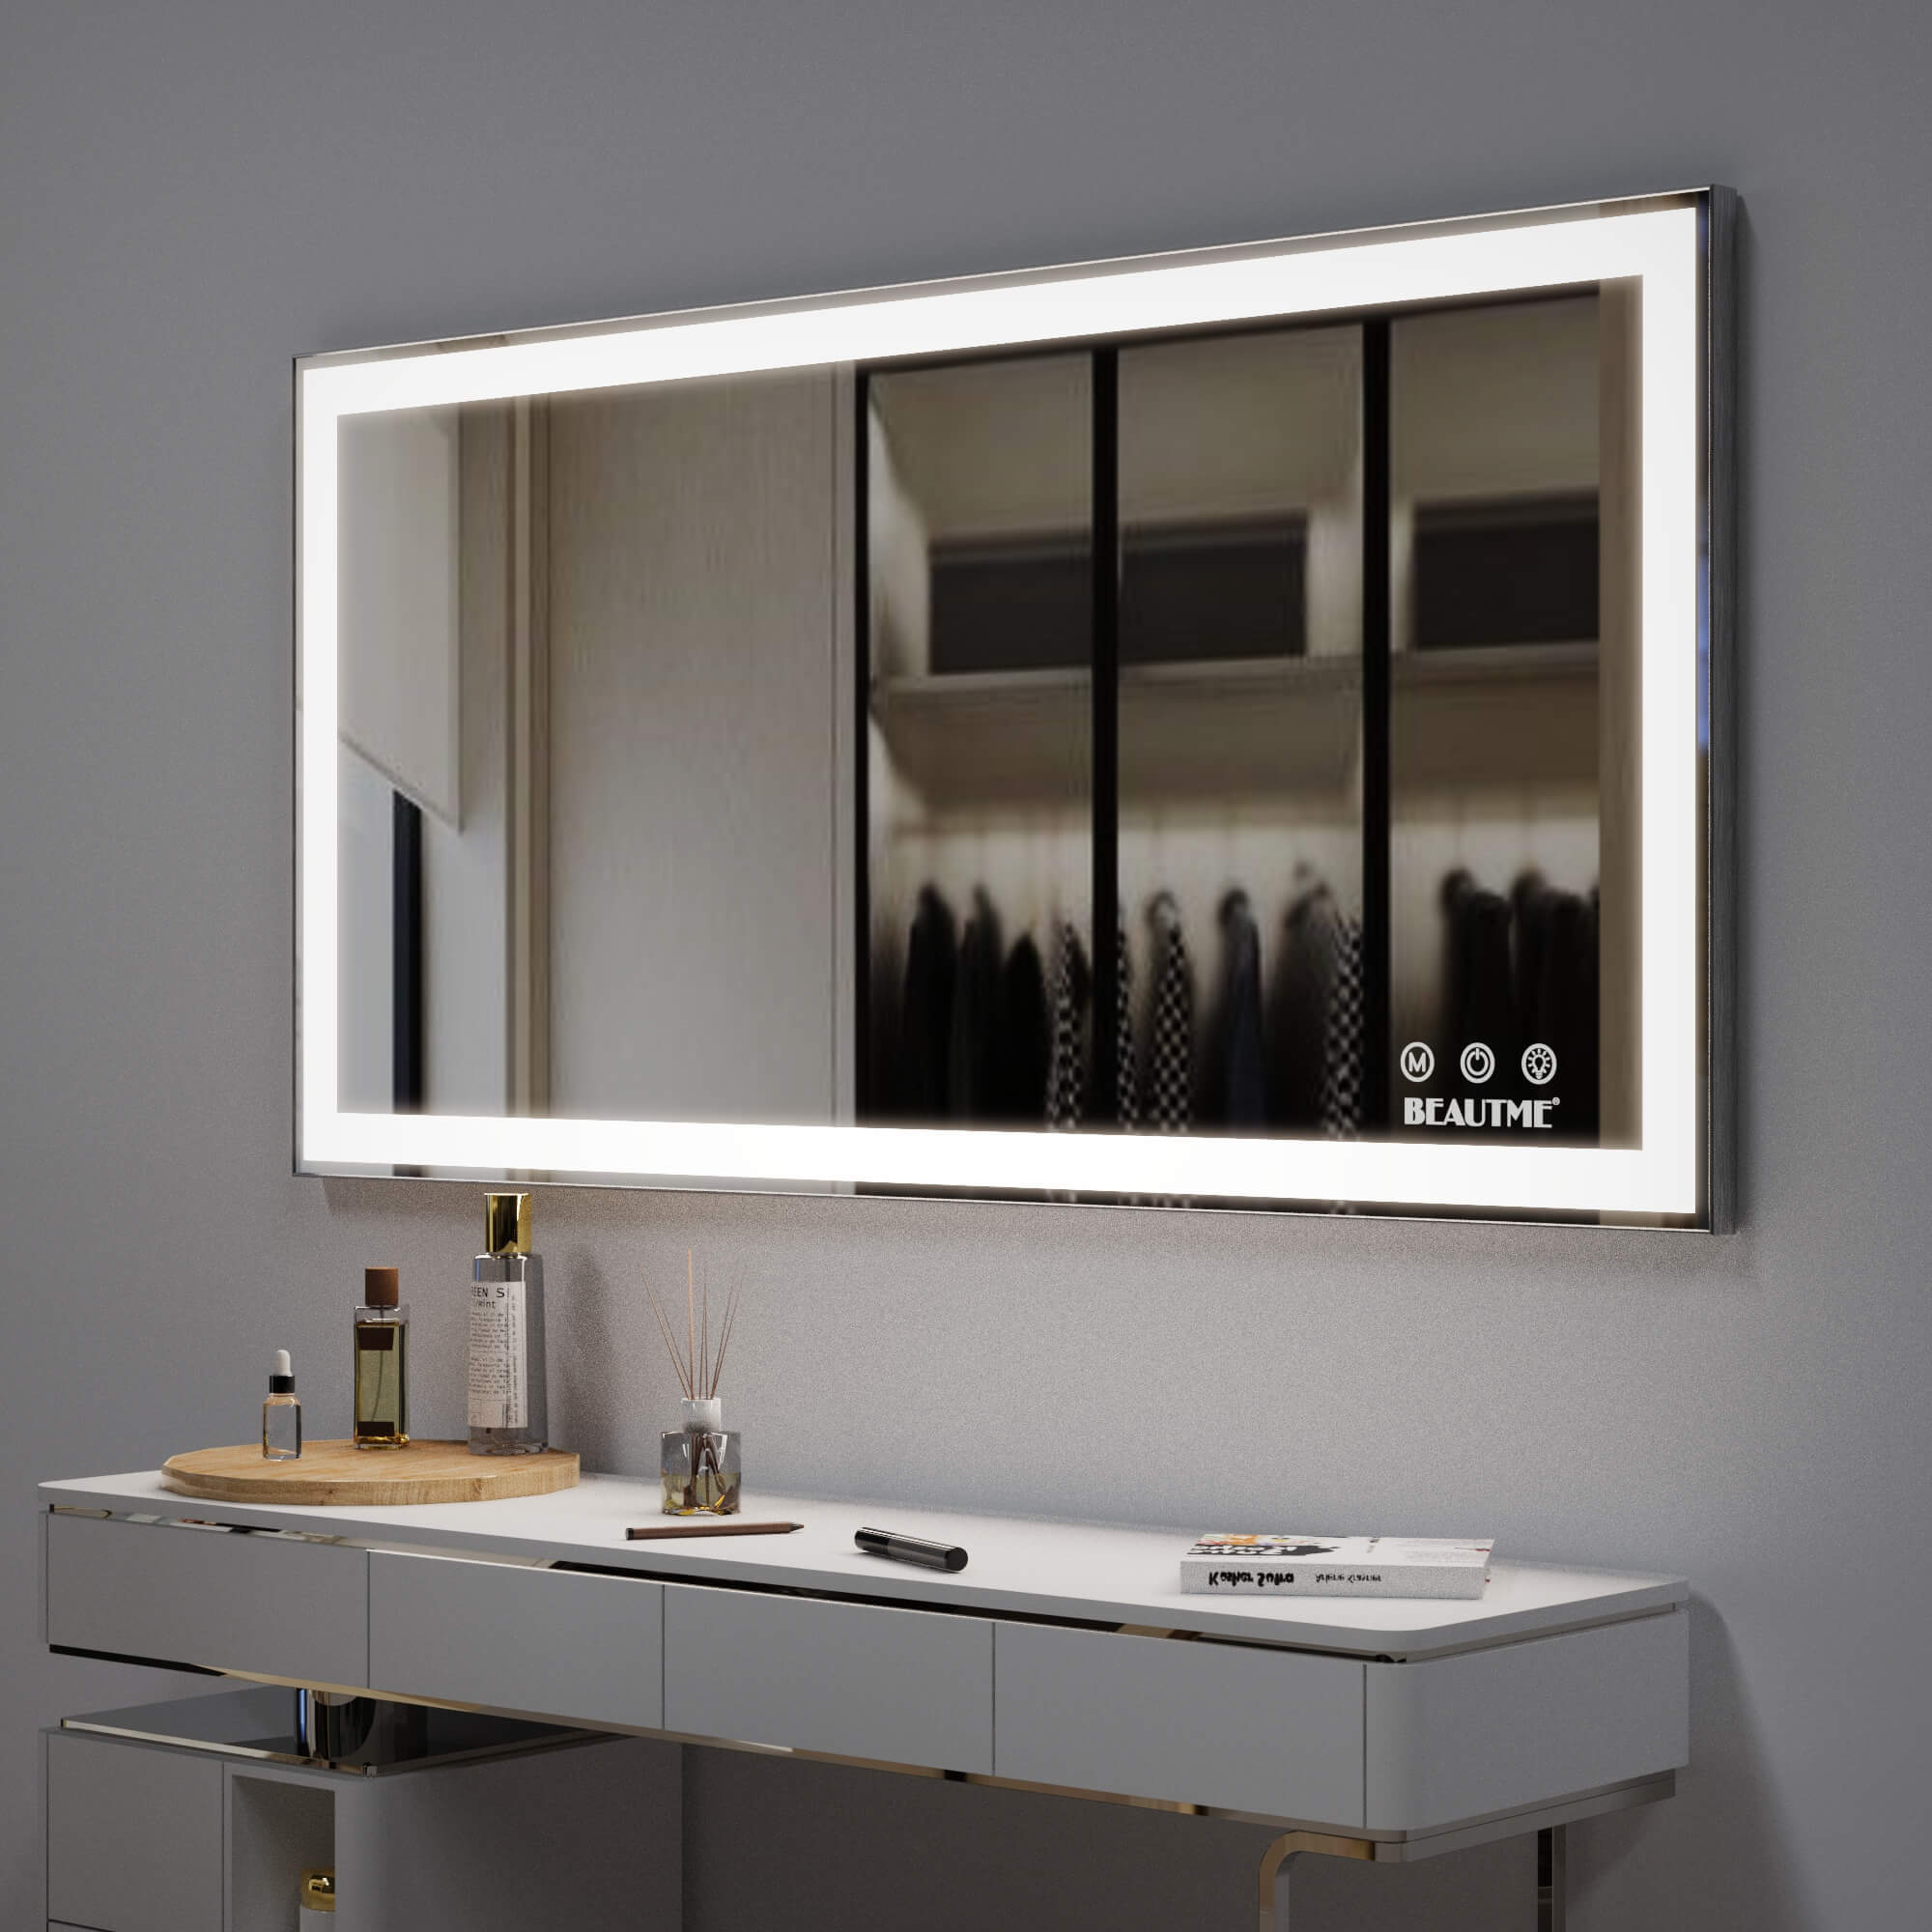
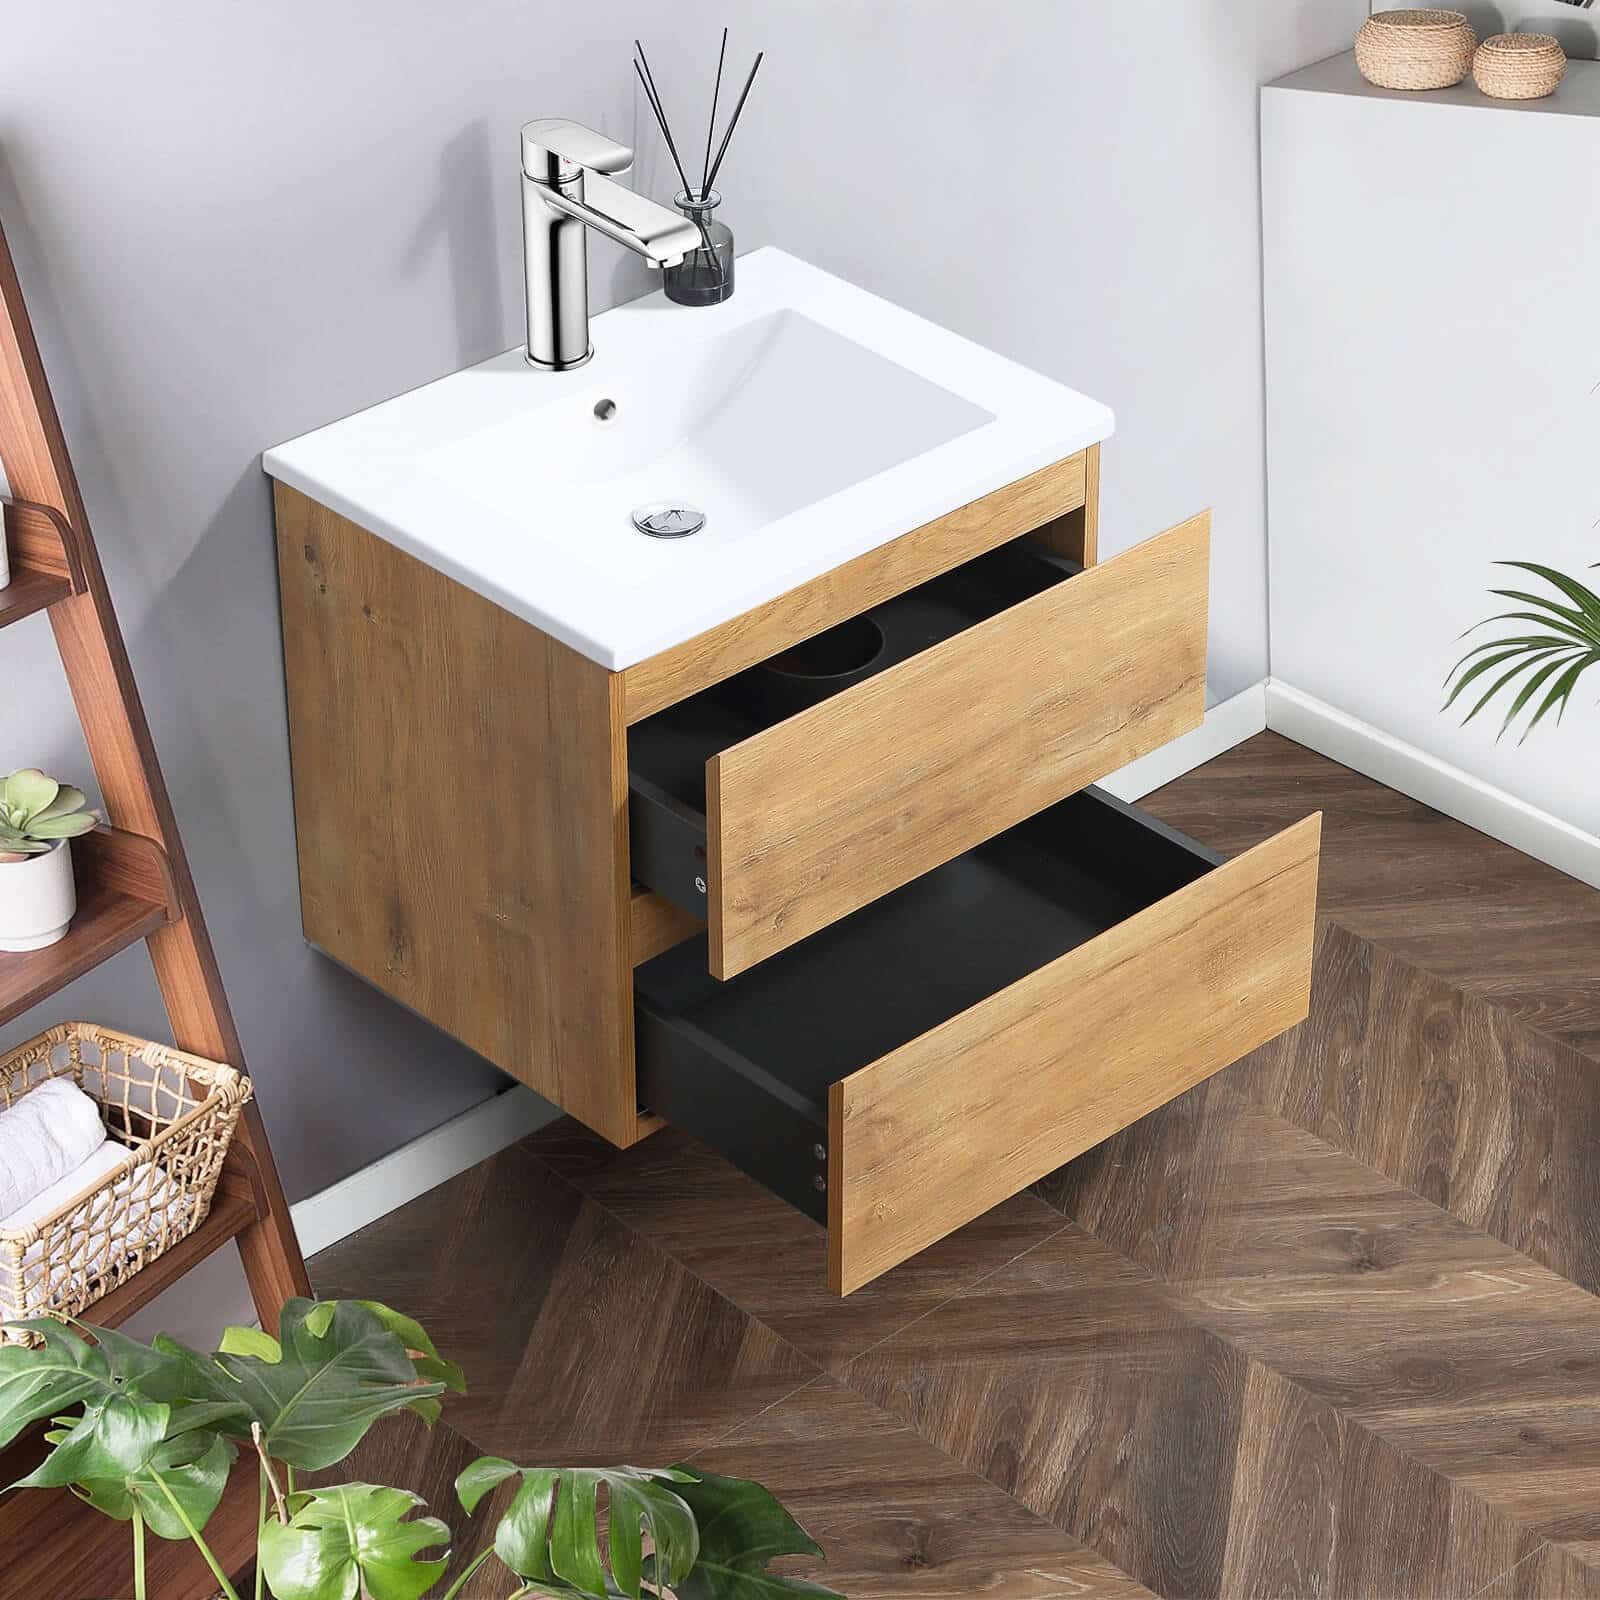
Kgarmall.com

Monday – Friday 9:00am to 8:00pm (EST)

How to fix a Dripping Bathtub Faucet

how to fix a dripping bathtub faucet
A Step-by-Step Guide to Put an End to that Annoying Drip

A dripping bathtub faucet can be both frustrating and wasteful. However, with the right knowledge and a little bit of effort, you can fix the issue on your own. In this blog post, we will guide you through the step-by-step process of how to fix a dripping bathtub faucet, helping you save water and regain peace in your bathroom.

What Causes Bathtub Faucets to Drip

There are many bathtub faucet designs, from single-hole wall-mounted versions to three-hole center-set tub faucet spouts. A stem or cartridge regulates the flow of water from the mixing valve that the hot and cold water lines run into. Different faucets can drip due to various reasons. Understanding the causes can help you identify the issue and take appropriate measures to fix it. Here are some common causes of dripping bathtub faucets:

  • Worn-out Washers: Over time, the rubber or silicone washers inside the faucet can wear out or become damaged. This can result in water leaking through the faucet, causing a drip.
  • Faulty O-Rings: O-rings are rubber seals used to prevent water leakage. If the O-ring becomes worn or damaged, it can cause water to seep out of the faucet, leading to dripping.
  • Corroded Valve Seat: The valve seat is a connection point between the faucet and the spout. If the valve seat becomes corroded or worn, it can cause water to leak and result in a dripping faucet.
  • Loose Parts: Loose or improperly tightened parts within the faucet, such as the handle or stem, can create gaps where water can escape, leading to dripping.
  • High Water Pressure: Excessively high water pressure can put strain on the faucet, causing internal components to malfunction or wear out faster. This can result in dripping or leaking.
  • Improper Installation: If the bathtub faucet was not installed correctly, it can lead to leaks and dripping. Poor connections or improper sealing can cause water to escape through gaps or joints.
  • Aging Cartridge or Valve: Some modern faucets have cartridges or valves that control the flow and temperature of water. Over time, these components can deteriorate, causing dripping.

Gather the Necessary Tools

When fixing a dripping bathtub faucet, it’s important to gather the necessary tools before starting the repair process. Here are some essential tools you may need:

  • Adjustable Wrench: An adjustable wrench will help you loosen and tighten different components of the faucet, such as the handle, stem, or retaining nuts.
  • Screwdrivers: Depending on the type of faucet, you may need both Phillips and flathead screwdrivers to remove screws and access internal parts.
  • Replacement Parts: Identify the specific parts that need to be replaced, such as washers, O-rings, cartridges, or valve seats. Ensure you have the appropriate replacements on hand.
  • Plumber’s Tape: Also known as Teflon tape, plumber’s tape is used to create a watertight seal on threaded connections. It helps prevent leaks when reassembling the faucet.
  • Flashlight: A flashlight will assist you in properly seeing and inspecting the internal components of the faucet.
  • Cleaning Supplies: Depending on the condition of the faucet and its components, you may need cleaning materials such as vinegar, a toothbrush, or a cloth to remove any buildup or debris.
  • Bucket or Towels: To catch any water that may drip or spill during the repair process, keep a bucket or towels handy to minimize mess and potential water damage.
  • Gloves: Wearing gloves can protect your hands from sharp edges or potential exposure to harmful substances during the repair.
  • Pen and Paper: It’s useful to have a pen and paper nearby to take notes or make diagrams of the faucet’s disassembled parts and their placement.
  • Safety Glasses: It’s always a good idea to protect your eyes with safety glasses, especially when working in tight or awkward spaces.

Shut Off the Water Supply

To avoid any accidents or water damage, it’s important to turn off the water supply to the faucet. Locate the shut-off valve near the bathtub or use the main water shut-off valve if needed.

Disassemble the Faucet

To fix a dripping bathtub faucet, you’ll need to disassemble it to access the internal components. Here’s a step-by-step guide on how to disassemble the faucet.

  • Remove the Handle: Depending on the type of faucet, there are various ways to remove the handle. Look for a small set screw on the handle or a cap covering the screw. Use an Allen wrench or screwdriver to remove the set screw or gently pry off the cap. Once the screw is exposed, unscrew it to release the handle.
  • Take Off the Trim and Escutcheon: The trim is the decorative plate surrounding the faucet handle. Remove any screws or fasteners securing the trim in place. The escutcheon is the plate against the wall surrounding the faucet. If it’s removable, unscrew or gently pry it off.
  • Loosen the Retaining Nut: Underneath the trim and escutcheon, you’ll find a retaining nut that holds the faucet assembly together. Use an adjustable wrench to loosen and remove the nut. Some faucets may have multiple retaining nuts or a threaded sleeve that requires unscrewing.
  • Extract the Cartridge or Valve: Once the retaining nut is removed, you can extract the cartridge or valve from the faucet body. Depending on the type of faucet, you may need to unscrew it or pull it straight out. Use caution and refer to the manufacturer’s instructions if needed.
  • Inspect and Clean Components: With the cartridge or valve removed, inspect it for any damage or wear. Check other components such as washers, O-rings, or valve seats for signs of deterioration or buildup. Clean any debris or mineral deposits using vinegar, a toothbrush, or a cloth.

Replace Faulty Parts

If you identify any damaged or worn-out parts, replace them with suitable replacements. Common culprits for dripping faucets are worn-out washers, O-rings, or cartridges. Apply plumber’s tape to ensure proper sealing.

If you can’t find the replacement, please contact the seller, most seller online will provide warranty, and they will send you the replace parts.

Reassemble and Test

Carefully reassemble the faucet, ensuring that all parts are properly aligned and tightened. Turn on the water supply and test the faucet for any leaks or drips. Make necessary adjustments if needed.

Leave a Comment

Your email address will not be published. Required fields are marked *

Share the Post:
Related Posts